
At Rosenbaum Framing, we understand that completing a jigsaw puzzle can be a labor of love and dedication. Once you’ve spent hours assembling the pieces, it’s only natural to want to preserve your masterpiece for years to come. That’s where framing comes in! Framing your puzzle not only protects it from damage but also allows you to proudly display it as a work of art. Our expert framers walk you through the process of how to frame a puzzle, ensuring that you achieve a stunning result.
There is no greater feeling than when you finally put that last puzzle piece in place and step back to admire your work. The problem is what to do next. You may delay it for a few days, but breaking the jigsaw puzzle down and returning it to its box can be depressing. Instead, framing a jigsaw puzzle and hanging it on your wall is a good way to continue to admire your hard work.
 Materials You’ll Need for Framing a Puzzle
Before you embark on framing your puzzle, gather the necessary materials:
- Puzzle adhesive: A high-quality puzzle adhesive is essential to seal and secure the puzzle’s pieces.
- Puzzle glue sheets: These adhesive sheets provide a convenient and mess-free way to preserve your puzzle.
- Foam board or mat board: This will serve as the backing for your puzzle and provide stability.
- Frame: Choose a frame that complements the size and style of your puzzle. It’s best to opt for a deeper frame to accommodate the puzzle’s thickness.
- Acid-free tape: This tape will help secure the puzzle to the backing without causing any damage over time.
- Glass or acrylic sheet: Protect your puzzle from dust and moisture by using a clear glass or acrylic sheet.
- Hanging hardware: Depending on the weight and size of your framed puzzle, choose appropriate hanging hardware such as wire or D-rings.
How to Glue a Puzzle for Framing
When gluing a puzzle for framing, it’s essential to use a high-quality puzzle adhesive to ensure the pieces stay together securely. Start by flipping the completed puzzle over and applying the glue to the backside. There should be complete coverage. Use a spatula or a similar tool to spread the adhesive evenly. Allow the adhesive to dry thoroughly as per the manufacturer’s instructions. This step will seal the puzzle and prevent any pieces from shifting or falling out. Once dry, the puzzle is ready to be mounted on a backing board using puzzle glue sheets or another adhesive method. Take care during this process to maintain the puzzle’s integrity and avoid damaging the delicate pieces.
Step-By-Step Guide to Framing a Puzzle
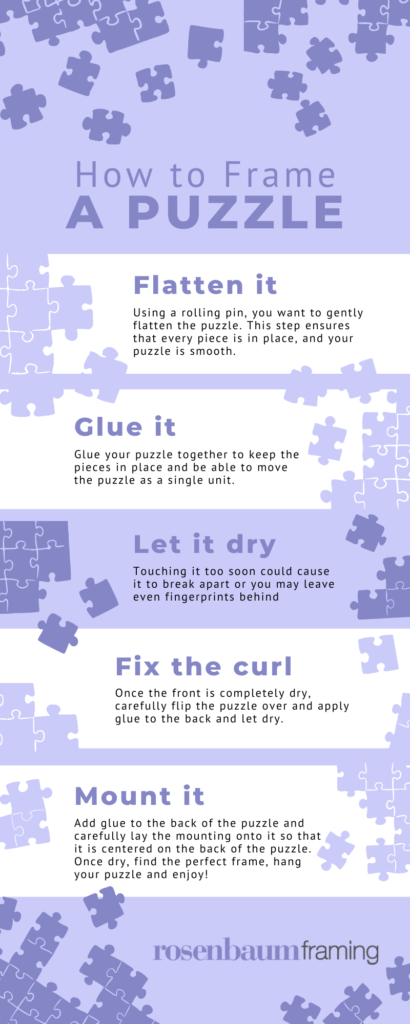
Glue your puzzle together to keep the pieces in place and be able to move the puzzle as a single unit. You can use puzzle glue which will sometimes come with its own spreader tool or clear glue and something with a straight edge like a piece of cardboard. Brushes may leave strokes behind, so they are not recommended. Make sure to spread the glue evenly and to not overdo it. Too much glue can cause the puzzle to curl or pieces to start peeling.
Step 1: Secure the Puzzle
Once your puzzle is completed, carefully flip it over onto a clean surface. Apply puzzle adhesive on the backside of the puzzle, ensuring complete coverage. Use a spatula or a similar tool to spread the adhesive evenly. Allow the adhesive to dry thoroughly as per the manufacturer’s instructions.
Step 2: How to Mount a Puzzle for Framing
Cut a foam board or mat board to match the size of your puzzle. Apply puzzle glue sheets to the board’s surface, carefully aligning them to cover the entire area. Place your puzzle on top of the adhesive sheets, pressing it down gently to ensure it sticks securely.
Step 3: Trim the Excess
Using a utility knife or a sharp blade, trim any excess foam board or mat board that extends beyond the puzzle’s edges. Take your time and make precise cuts for a clean finish.
Step 5: Add the Glass or Acrylic Sheet
To protect your puzzle from dust and moisture, place a clear glass or acrylic sheet over it. Make sure the sheet is clean and free from any scratches or blemishes. Secure the sheet to the frame using the appropriate hardware provided with the frame or additional clips.
Step 6: Finishing Touches
Inspect the framed puzzle for any visible dust or fingerprints on the glass or acrylic sheet. Gently clean the surface using a microfiber cloth or an appropriate cleaning solution, taking care not to damage the puzzle or the frame.
Step 7: Hanging Your Framed Puzzle
Attach hanging hardware, such as wire or D-rings, to the back of the frame, ensuring it can support the weight of the puzzle. Use appropriate wall anchors and hooks when it comes to mounting a puzzle for framing. You want to make sure to securely hang your framed puzzle on the desired wall.
Displaying Your Puzzle With Pride
Framing your puzzle is a fantastic way to showcase your hard work and create a lasting keepsake. Now that you know how to frame a puzzle, you can ensure your puzzle remains protected and beautifully displayed for all to admire. Remember, at Rosenbaum Framing, we specialize in various framing services in creating custom frames that perfectly complement your treasured pieces. Contact us today, and let us help you preserve and exhibit your puzzle masterpiece with the utmost care and expertise.
Related Readings:
Enhancing Artwork Through Reframing